Hibernate is a cool feature in most computers these days. Most standard OSes support the feature of hibernating and allows users to enable it or disable it based on their needs. It is n easy to use a feature, that you can use instead of shutting down your computer or putting it to sleep. well, we will discuss the feature in detail and will discuss how to enable and disable the feature on a Windows 11 computer.
To begin with, hibernation is a pretty common feature, this feature lets you temporarily put your computer on a mode that is neither shut down nor sleep. Well, what happens when you use hibernate is all the data that are being actively used will get saved on the hard disk and the computer will be inactive until you switch it on back. This may seem a good option for people who take long breaks in between work and want to start from where they left instead of opening all the applications from the start. Now, that we have discussed the facts about how hibernation works, you may have a simple question of how is hibernate different from sleep mode, well, here goes the explanation.

When you put a computer on sleep all the data that are currently being processed will be stored in the RAM. so all the other components become inactive except for the RAM, and once you turn on the computer, the information in the RAM becomes accessible as the CPU is back and alive. Well, in the case of hibernating, instead of using RAM to save the information, the hard disk is used. Here is a catch, you may see that both hibernate and sleep mode is used to temporarily make your computer inactive, so you will get confused when to use these options, well, the sleep mode is for a short break like 30 minutes, and the hibernate mode can be used for an hour or so.
With this, you would have got a clear idea of what hibernate is and how it is different from the sleep mode. Now, you have to understand whether using hibernate is good for your computer? Hibernate mode utilizes the hard disk to save all the active information and hence the herd disk will be active. This is not a big deal, as the hard disk is made to run continuously but when it comes to using HDD, using hibernate mode should be minimized as HDD’s has moving parts and they generate heat. Not only this they consume more energy than SSD’s. With this said, hibernate mode can be used with an SSD efficiently as there is no moving part and the storage using consumes less energy.
Now, as we have explored some of the key facts you need to know about the hibernate mode, let’s jump into learning how to enable the hibernate option on Windows 11.
Before that let’s discuss a little bit about Windows 11. The OS is about to release and is expected to be out by the end of 2021. Unlike previous Windows OSes, this one has a Mac-like user interface. The OS is said to have lots of new and improved features that require users to have a medium-end PC with TPM version 2.0 which is a bit controversial up to this point. As only the preview builds have been released the OS cannot be fully judged. Let’s wait until the official version comes out to fully understand the features and bugs.
Recommended Post:- How to Enable Snap layouts in Windows 11 – Quick Guide
How to Enable or Disable Hibernate Mode in Windows 11
With the preview build versions of the OS released in the insider program, some features can be guessed and many aspects can be analyzed. This makes things easier as we get to find out what’s new in the OS and how to use the features in it. So, here are the methods for enabling and disabling the hibernate option on Windows 11.

Method 1: Enable and Disable Using Control Panel
Control panel is one of the best Windows features which is being carried on to the next versions even after infusing settings, users accustomed to using it can easily make changes to the computer. Here is how you can use the option in the control panel to enable or disable the hibernate option.
- Open the control panel by searching for the control panel in the search bar.
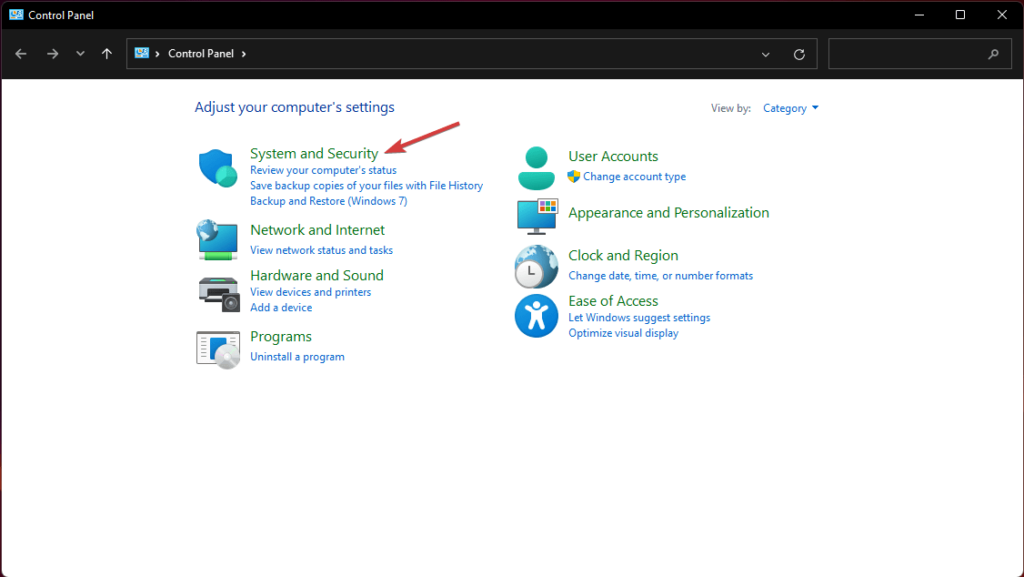
- Now, go o the system and security tab.
- Here in the system and security tab, navigate to the power option.
- Here, click on “change settings that are currently unavailable.
- Now check the box near the hibernate option and click on save changes to enable the hibernate mode.
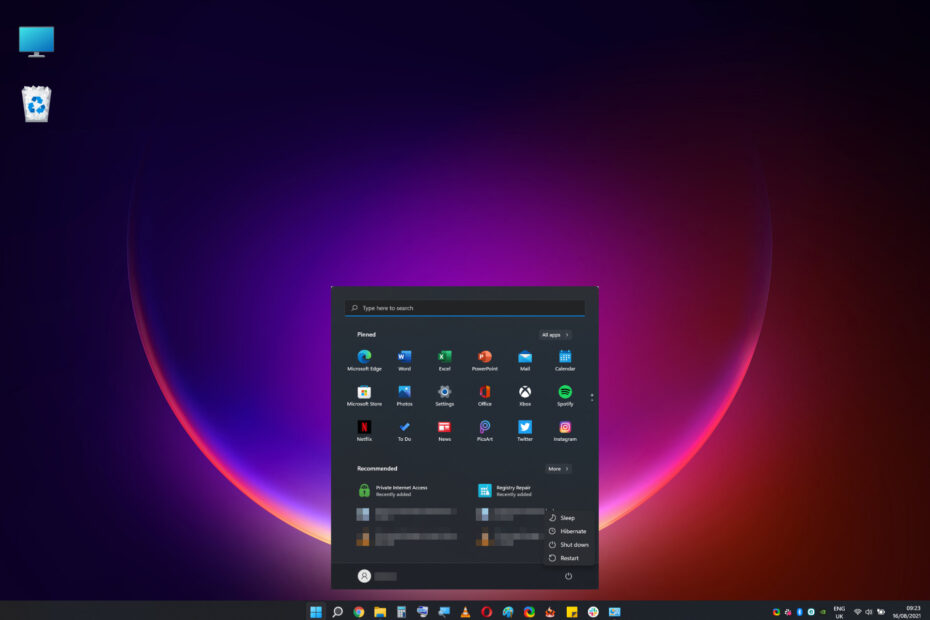
- Once done, you will find the hibernate mode button in the start button, using which you can put your computer on hibernate.
- If you want to disable the mode, you can follow the above-mentioned steps till the 4 the step and then uncheck the box near hibernate. Then click on save changes.
Method 2: Enable or Disable Hibernate Mode Using Command Prompt
Command prompt is well known for its versatility in providing commanding features to the users. This can be used to enable and disable the hibernate mode and users who prefer using command prompts can do this as using the command prompt is fun.

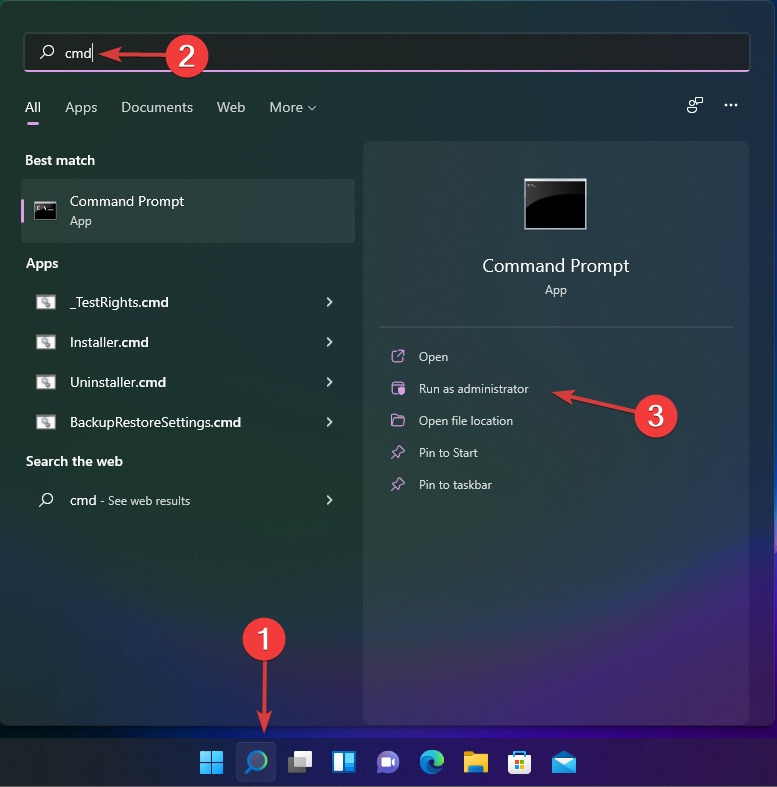
- Open the command prompt as an administrator, by searching for the command prompt and then right-clicking on it to select run as an administrator.
- Once the terminal is opened, enter “powercfg.exe /hibernate on” and hit enter.
- This will enable the hibernate mode and you can use it from the start menu.
Well, the above-mentioned methods are the simplest to enable ad to disable the hibernate mode on Windows 11, you can easily enable and disable the mode.
Hope the information provided above was helpful and informative, try using the hibernate mode on your computer and keep in mind that do not overdo it as the mode can destroy the hard disk.


